
A picture is worth a thousand words, and a thousand euros
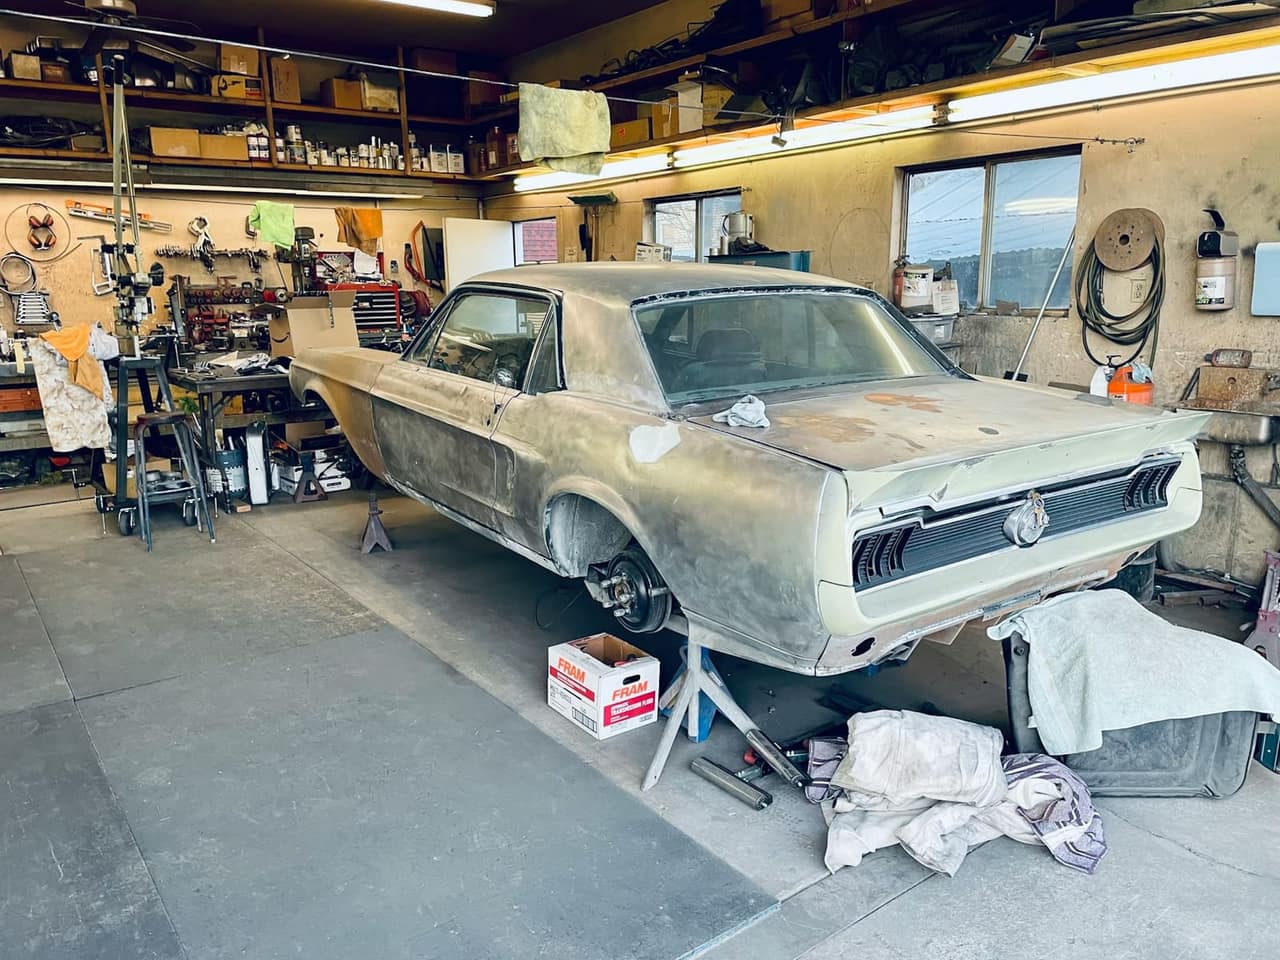
When you browse ads for used car parts, what do you look at first? The photos, of course. An ad with blurry, dark photos shot in the mess of a garage immediately gives off an unprofessional impression. On the other hand, an ad with clear, well-lit photos from several angles inspires trust and pulls in buyers.
The difference between a well-photographed and a badly photographed part can be the difference between selling in one day and a part that sits on the ad for weeks. And you do not need an expensive camera or a studio. Your phone and a bit of effort are quite enough.
The picture sells the part. A bad photo means silence in your inbox, a great photo means a buyer who does not haggle. Here is how to prep the part, set up the light, nail the angle and process the photos - all with gear you already own.
Preparing the part for photography
Before you even pick up the phone, prepare the part for photography. This is a step most people skip, and it makes a huge difference:
Clean the part
A dirty part looks worse than it is. A simple cloth with a little degreaser can turn a grimy alternator into a part that looks almost new. Remove dust, grease, mud and rust (as much as possible). For metal parts, WD-40 and a clean cloth work wonders. For plastic parts, soapy water is enough.
Of course, do not overdo it. The goal is not to hide signs of use, but to show the part in the best possible light. The buyer has to see the actual condition of the part because you do not want to mislead them.
Remove unnecessary extras
Take off old gaskets, silicone residue, old bolts that do not come with the part, and so on. A part that looks tidy and clean attracts buyers.
Check that it works
If you can test the part before photographing (e.g. powering up an electric motor, checking that a pump spins), shoot a video too. Video is extra proof of quality that sets your ad apart from the competition.
Lighting: the most key factor
You can have the latest iPhone or Samsung, but without good light the photos will be bad. Here is how to fix that without spending anything:
Natural light is your best friend
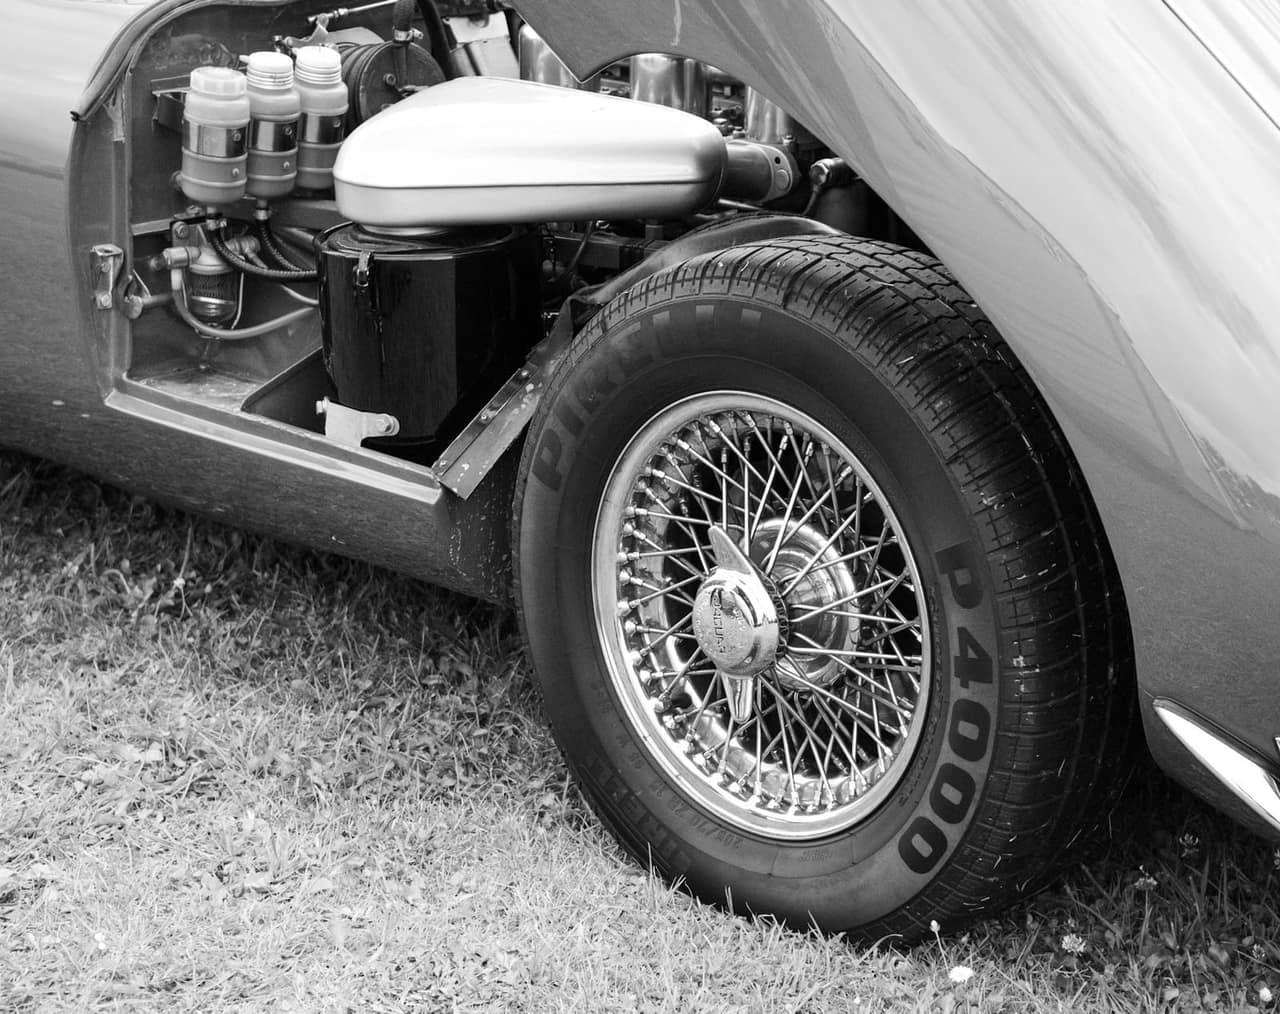
Take the part outside or place it next to open garage doors. Natural daylight (but not direct sunlight) gives the nicest, most accurate colours. An overcast day is actually ideal because the light is diffused and there are no harsh shadows.
Direct sunlight creates strong shadows and glare on metal parts, making them hard to shoot well. If you have to photograph in sun, place the part in shade or use white paper as a reflector to fill in shadows.
What if you have to shoot in the garage?
Turn on every light you have and add at least one strong LED lamp. Place the lamp at a 45-degree angle above the part, never directly overhead because that creates ugly shadows. If you have two lamps, place them on two sides for even lighting.
Avoid the phone flash. The flash creates flat, cold light with hard shadows behind the part and makes everything look cheap. It is better to use existing lighting and then bump up brightness a bit in editing.
Background: keep it simple
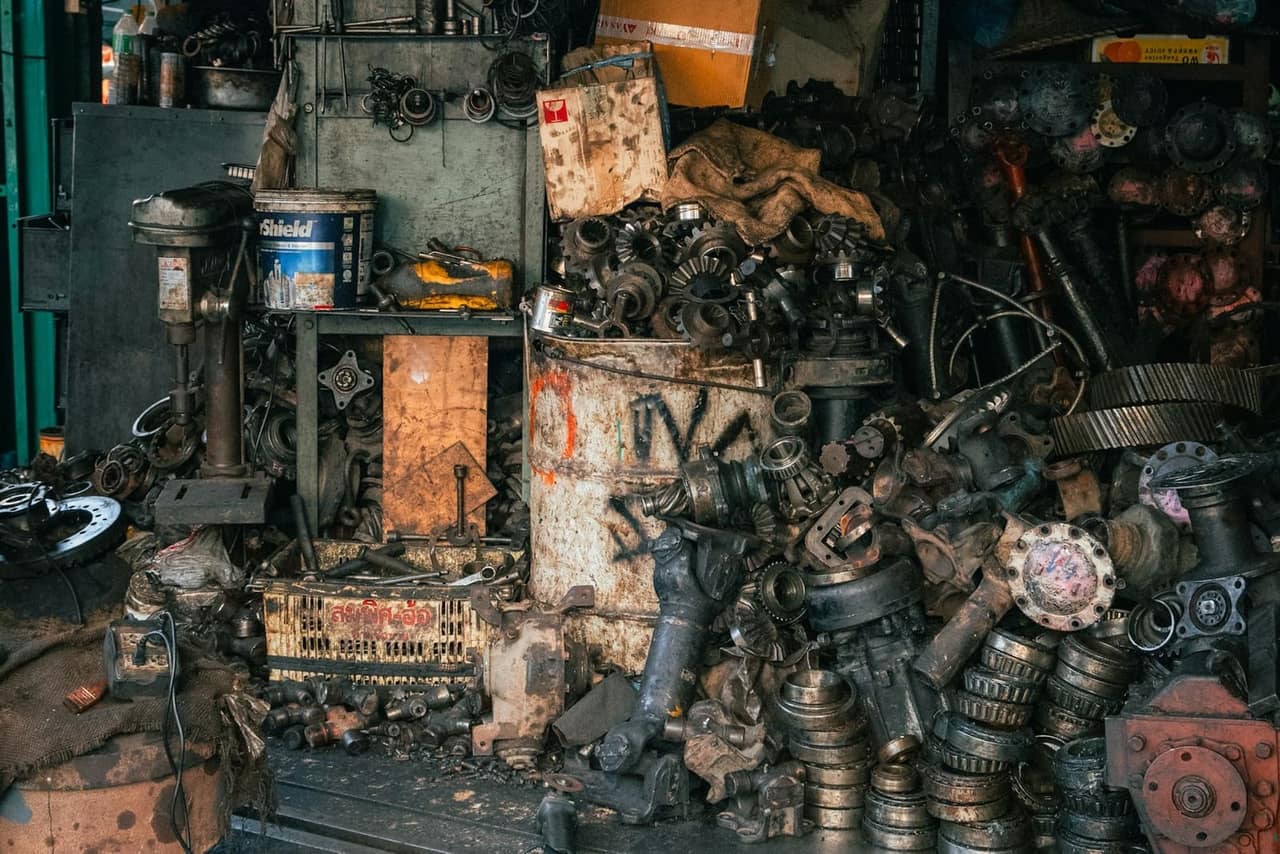
A part on a dirty concrete floor surrounded by tools and oil cans does not look professional. But you do not need to buy a studio background. Here are simple solutions:
- White paper or cardboard - put a large white piece of cardboard on the floor and bend it up against the wall for a clean, seamless background
- An old white sheet - works the same, just smooth it out
- Clean concrete or wood - if it is clean and tidy, it can look good as a rustic background
- Grass - green grass is a surprisingly good background for car parts
The key is that the background does not distract from the part. The buyer needs to see the part, not the mess in your garage.
Shooting angles: show everything
One photo is not enough. The buyer wants to see the part from every side, especially the details that matter to them. Here is the minimum set of photos every ad should have:
1. Main photo
The whole part, clearly visible, from the front or from the angle that shows it best. This is the photo the buyer sees first in search results, so it has to be the best one.
2. Back side
Turn the part around and show the other side. Many parts have connectors, plugs or labels on the back that matter to the buyer.
3. Details and markings
Photograph up close all the markings, part numbers (OEM number), manufacturer stickers and so on. This helps the buyer confirm that this is the right part for their car. Use macro mode on your phone if you have it.
4. Damage and signs of wear
If the part has scratches, cracks, corrosion or any damage, photograph them up close. This builds trust because the buyer sees you have not hidden anything. An ad that clearly shows the condition of the part gets fewer complaints and questions.
5. Connectors and plugs
For electrical and electronic parts, photograph the connectors up close. The buyer wants to see that the pins are not bent and the connector is not damaged.
6. Context photo
If you can, place the part next to something known for size reference (e.g. a matchbox, coin, ruler). Especially useful for parts whose size the buyer cannot estimate from a picture.
Phone settings for photography
Most modern phones have excellent cameras, but they need to be used properly:
- Clean the lens - seriously, a fingerprint on the lens is the most common reason for blurry photos. Wipe the lens before every shot
- Use the rear camera - always, without exception. The front camera is for selfies, not product photos
- Hold the phone steady - prop your elbows on a table or use both hands. Even better, use a mini phone tripod (costs 5 to 10 EUR)
- Tap the screen to focus - tap on the part you are shooting so the camera focuses on the right spot
- Avoid zoom - digital zoom reduces image quality. Better to physically get closer to the part
- Shoot at the highest resolution - you can always shrink an image, but you cannot add detail that is not there
Photo editing: less is more
A little editing can significantly improve photos, but do not overdo it. Here is what is OK:
- Boost brightness - if photos are a bit dark, boost by 10 to 20%
- Boost contrast - a bit of contrast makes photos sharper and clearer
- Crop unnecessary space - focus the frame on the part
- Correct colours - if photos are yellowish (from indoor lighting), correct the white balance
What is NOT OK:
- Filters - Instagram filters on a car part look silly and unprofessional
- Photoshopping out damage - removing scratches or damage is fraud and a guaranteed complaint
- Over-saturated colours - the part needs to look realistic, not like an ad photo
Video content: an extra trump card
If the part has moving components or you can test it, shoot a short video (15 to 30 seconds). Video shows:
- That the motor spins (for alternators, starters, fans)
- That the pump works (for fuel, water, servo pumps)
- That there are no odd noises (for compressors, bearings)
- The general condition of the part from every angle (like a virtual inspection)
Video is especially useful on the PoDi platform because it gives the buyer extra confidence before deciding to buy.
The most common photography mistakes
Here is what to avoid, straight from practice:
- Shooting in the dark - dark photos where you can barely see the part are useless
- Too much stuff in frame - the part needs to be the focus of the photo, not your workbench full of tools
- Only one photo - one photo is not enough. The buyer wants to see the part from every side
- Blurry photos - clean the lens and hold the phone steady
- Photo of the box, not the part - the buyer wants to see the part, not the packaging
- Too far from the part - if the part is small, get closer. A small sensor shot from 2 metres away is unrecognisable
Special tips for specific parts
Headlights and lamps
Photograph them lit up if you can (connect to a battery). A photo of a lit headlight shows that it works and what kind of light it gives. Also show the condition of the lens up close because buyers look for scratches and hazing.
Bumpers and body panels
Photograph at an angle so any dents or rippling of the surface show. A flat front-on photo hides deformations that appear at an angle.
Electronic units
Photograph the connectors, the part number sticker and any modification markings. The OEM number is the most key info for the buyer.
Engine parts
Show the state of sealing surfaces, threads and the inside (if visible). A clean part with a visible number looks reliable and sells faster.
Practical example: from bad to good ad
Imagine you are selling a used alternator. Here is the difference:
Bad ad: one dark, blurry photo of the alternator on a dirty garage floor. Description: "Alternator, was working. 50 EUR."
Good ad: five clear photos on a white background, close-ups of the connectors and the manufacturer sticker, a video showing the pulley spinning smoothly. Description: "Bosch alternator for VW Golf 5 1.9 TDI, OEM 028903028D, removed from a car with 150,000 km, tested, runs without issues. 50 EUR plus delivery."
Both ads sell the same part at the same price. But guess which one sells first?
The photo sells, not the text
Photographing car parts for sale does not require expensive gear or a professional studio. You need a clean part, good light, a simple background and a phone with a clean lens. Invest 10 to 15 minutes in quality photos and your ads will sell faster and with fewer buyer questions.
When you are ready to sell your used parts, put them on the PoDi platform with quality photos and watch the offers come in. A good picture is half the sale.