
Buying used car lights can save you a stack of money, but only if you buy a working part. There is nothing worse than ordering a used headlight, fitting it, and then finding out it does not work properly. Returns, claims, waiting for replacements... all of that eats up time and patience.
That is why checking before you buy is absolutely essential. What follows is a step-by-step process for testing every type of car light, from halogen headlights to complex LED systems. Even if you are not a mechanic, these checks are straightforward enough for anyone to do.

Tools you will need
For a proper check of used lights, you will need:
- A 12V battery or any 12V power source (a car battery works)
- Two wires with crocodile clips for hooking things up
- A multimeter (not essential, but handy for more precise tests)
- A strong lamp or torch for visual inspection
- A clean cloth for wiping the glass
All of this is standard kit that you can pick up for under EUR 20 if you do not already have it. And it will pay for itself because you will be able to test not only lights but other electrical bits too.
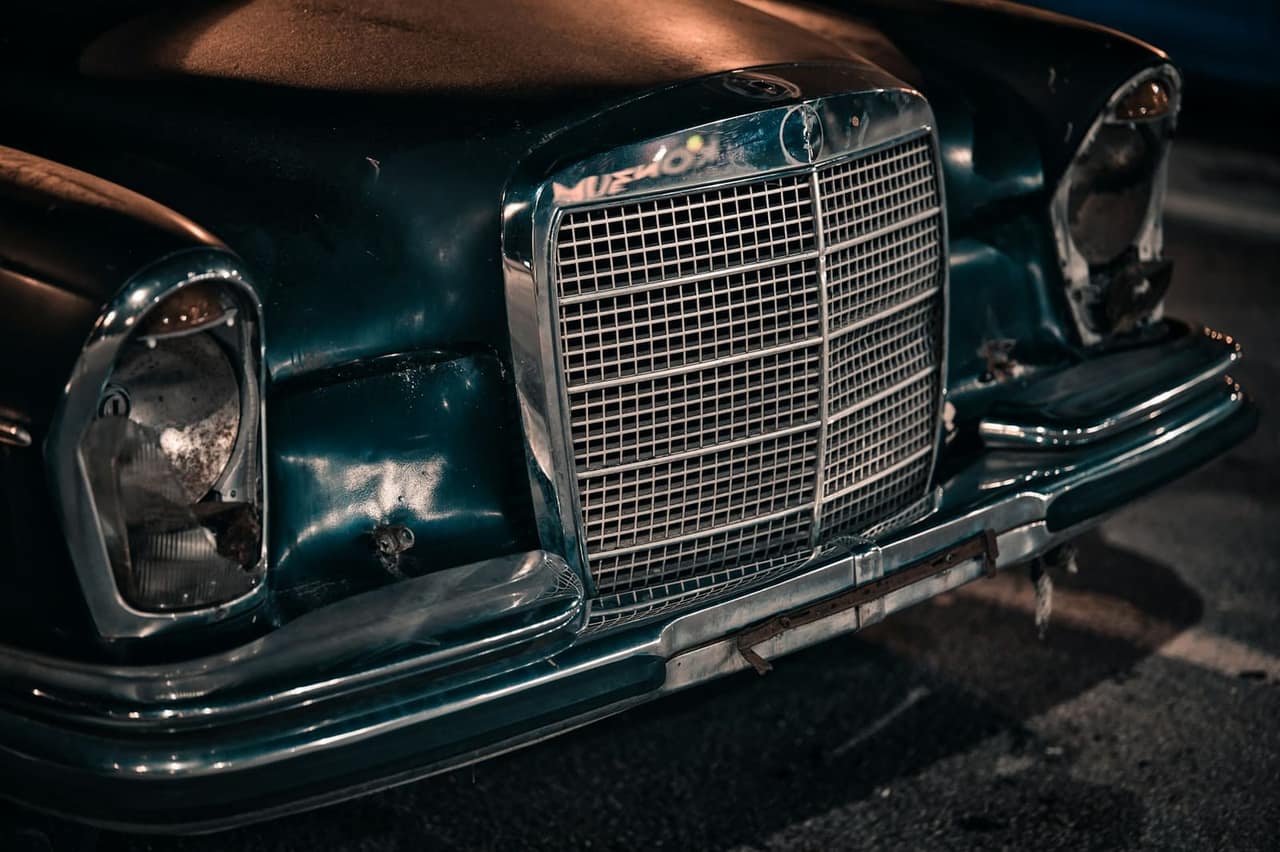
Visual inspection: the first and most important step
Before you plug anything into power, a thorough visual inspection can flag most of the problems:
Headlight glass (lens)
Take the headlight in your hands and look at the glass from different angles, ideally under strong sunlight or a lamp. Look for:
- Scratches - surface scratches are acceptable, deep ones are not because they scatter the beam
- Hazing - cloudy or milky glass cuts headlight effectiveness dramatically
- Yellowing - yellowed glass (from UV damage) reduces light output by 20-40%
- Cracks - even a hairline crack is a deal-breaker because it lets in moisture
A small note: hazing on the outside of the glass can sometimes be polished out and restored with a dedicated headlight restoration kit (EUR 15-30). But if the hazing is on the inside, that is a sign moisture has already got in and damaged the internals, so polishing will not help.
Inside the headlight
Look through the glass into the headlight. The reflector (the metallised mirror behind the bulb) must be shiny and clean. If you see:
- Dark patches - the reflector is damaged and the headlight will not bounce light properly
- White spots or flaking - the metallisation is breaking down, the headlight is near the end of its life
- Signs of moisture (droplets, streaks) - the seals have failed and water is in
- Bug or dirt residue - a sign the seals are not sealing properly
Housing
Turn the headlight around and inspect the housing from every angle:
- Cracks, especially around bolts and mounts
- Heat or impact damage
- State of the connector (corrosion, bent pins)
- State of the seals around the glass
- All mounts and bolts present and intact
Electrical testing of halogen headlights
Halogen headlights are the easiest to test because they have the fewest parts.
Testing the bulb
Take the bulb out of the headlight (usually a quarter turn of the bulb holder). Hook the bulb straight up to a 12V battery:
- Identify the contacts on the bulb (earth and positive)
- Connect the earth (negative terminal) to the bulb housing or the appropriate contact
- Connect positive to the bulb contact
- The bulb should light up straight away
For dual-filament bulbs (e.g. H4 with dipped and main beam), test each contact separately. Each contact powers one filament.
If the bulb does not light, that is not necessarily a problem because bulbs are consumables. Pop in a new bulb (EUR 3-10) and test again. If it still does not work with a new bulb, the issue is the connector or the headlight wiring.
Testing the whole headlight
Instead of testing the bulb separately, you can test the whole headlight at once:
- Identify the pins on the headlight connector (usually 2-3 pins: earth, dipped, main)
- Hook up earth to the right pin
- Hook up positive to the dipped beam pin
- The headlight should light up
- Switch positive over to the main beam pin to test full beam
If you do not know the pin layout, look up a wiring diagram for your specific headlight model online or in the workshop manual.

Electrical testing of xenon headlights
The xenon system is more complex than halogen and needs more caution when testing.
WARNING: A xenon ballast generates 20,000-25,000V to ignite the bulb. Never touch connectors or the bulb while the system is powered. Always disconnect power before handling components.
Testing the ballast
The ballast is the electronic unit that converts 12V from the battery into the high voltage needed to fire the xenon bulb. To test:
- Connect the ballast to a 12V battery (power connector)
- Connect the xenon bulb to the ballast output
- Switch on the power
- The bulb should fire within 1-3 seconds
- Watch the light's stability for the next 30 seconds; it should settle after the initial "warm up"
If the bulb flickers, cuts in and out, or does not reach full output, the ballast is likely faulty. If the bulb does not light at all, the problem could be in the ballast, the igniter or the bulb itself. Test with a known-good bulb to narrow it down.
Testing the xenon bulb
You cannot test a xenon bulb without a ballast. If you have a working ballast, just plug the bulb in and check whether it lights up and what colour it produces. A new xenon bulb is around 4300K (white with a faint yellow tint). Old bulbs with many hours of use go pinkish or blueish, which is a sign they need replacing.
Testing automatic beam levelling
Xenon headlights must have automatic beam levelling (it is a legal requirement). The levelling motor is usually on the back of the headlight. Test it by connecting 12V. The motor should move the reflector up and down. If it does not respond, levelling is not working and the car will not pass an MOT with that headlight.
Electrical testing of LED headlights
LED headlights are the trickiest to test because they include integrated driver circuits and LED modules that cannot be tested by simply hooking them to a battery.
Basic test
On some LED headlights, connecting power (12V) to the input connector is enough and the headlight should light up. But many modern LED headlights need a communication signal from the car (CAN bus) before they activate. With those, the only reliable test is to fit them in the car.
Visual LED check
If you cannot test the LED headlight electrically, carefully look at the LED chips through the glass. Every LED chip should look clean and uniform. If you see darkened, discoloured or physically damaged LEDs, that is a sign of trouble. Also check the board the LEDs are mounted on, because signs of overheating (brown discolouration) hint at imminent failure.
Cooling check
LED headlights have a heatsink (usually aluminium) on the back to dissipate heat. Check that the heatsink is not damaged and that the fan (if fitted) is working. LEDs without proper cooling degrade quickly and lose output.
Testing tail lights
Tail lights are generally easier to test because they are simpler:
Conventional (with bulbs)
- Identify the connector pins (earth, side light, brake, indicator, reverse)
- Hook up earth
- Test each pin in turn for each function
- Each function should light the matching bulb
LED tail lights
LED tail lights usually run straight off 12V without needing a CAN signal. Connect power and test each function. Pay particular attention to every LED segment working. Even one dead segment is visible and can be a problem at an MOT.
Testing fog lights
Halogen fog lights are tested in exactly the same way as halogen headlights. Just connect to 12V and check that the bulb lights. Fog lights with integrated LED DRL usually have two connectors or two pin sets: one for the fog light (halogen bulb) and one for the DRL (LED). Test both separately.
Water-tightness test
This is a test few people do, and it can save you a heap of trouble. Moisture inside a headlight is a silent killer that slowly destroys reflector, contacts and electronics.
Simple test:
- Close every opening on the headlight (refit bulbs, close covers)
- Lightly spray the headlight with water around the edges where the glass meets the housing
- Leave it 15-20 minutes
- Look inside the headlight. If you see water droplets, the seal is not holding.
Alternatively, if you have compressed air, you can pressurise the headlight (very gently, low pressure) and listen for air escaping. Or dip the edges in water and watch for bubbles.
Keep in mind that many headlights have ventilation openings (small holes or membrane vents) on the back that are there on purpose to allow air to circulate and prevent condensation. That is normal and does not mean the headlight leaks.
Compatibility check
Above all, make sure the headlight is compatible with your car. Check:
- OEM part number - stamped on the back of the headlight or on a label. Cross-reference with the number for your car.
- Physical dimensions - compare with your existing headlight if you have it
- Connector layout - must match your wiring loom
- Bulb type - must match the bulbs you use (H1, H4, H7, D1S, D2S...)
- Side - left and right headlights are different, do not mix them up
What if you cannot inspect the part in person?
If you are buying online or at distance, ask the seller for:
- Detailed photos from multiple angles (front, back, connector, glass at an angle)
- A video test of functionality (hooked up to 12V, all functions on)
- The OEM part number visible in a photo
- Information on origin (donor car, mileage, year)
- A warranty or return option if the part does not fit or does not work
On the PoDi platform our suppliers are vetted and provide detailed condition descriptions for every part. Send a request and get quotes with clear information on condition and warranty.
15 minutes of checks that save you nasty surprises
Checking used lights is not complicated, but it takes a bit of time and basic kit. A visual inspection catches 80% of the issues, and electrical testing confirms functionality. Spend 10-15 minutes checking before buying and you will avoid unpleasant surprises after fitting.
And remember: a quality used headlight at a fair price from a reliable seller beats a cheap new aftermarket headlight of questionable quality. On PoDi you can find verified used parts with a warranty, which gives you security and savings at the same time.